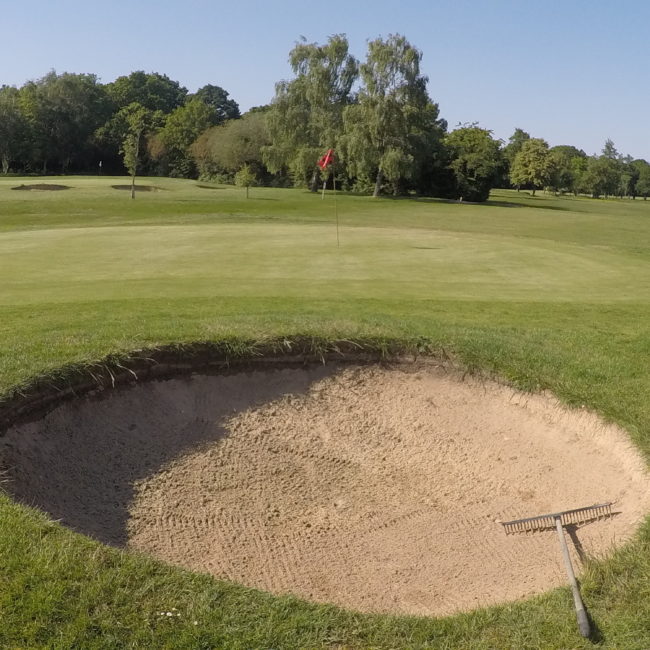
the course is challenging for players of all abilities

the course is challenging for players of all abilities
Tenterden Golf Club was
founded in 1905
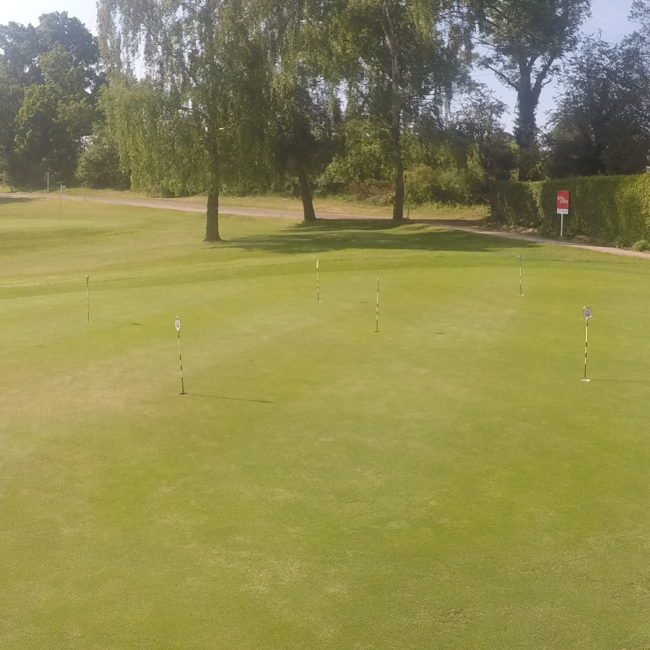
Situated on the outskirts of Tenterden in one of the most pleasant areas of Kent, the course is challenging for players of all abilities. Carefully maintained to allow for play all year, the course demands accuracy and consideration whilst allowing for a comfortable pace of play. Tenterden Golf has earned a reputation for being a very friendly club, equally facilitating competitive, social, and less formal golf. The club was founded in 1905, moved to its current location in 1920 where it was expanded in 1991.
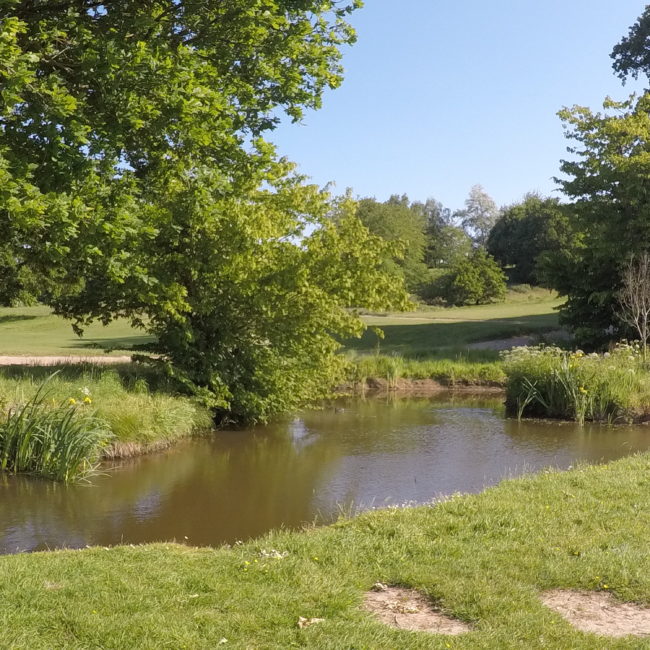
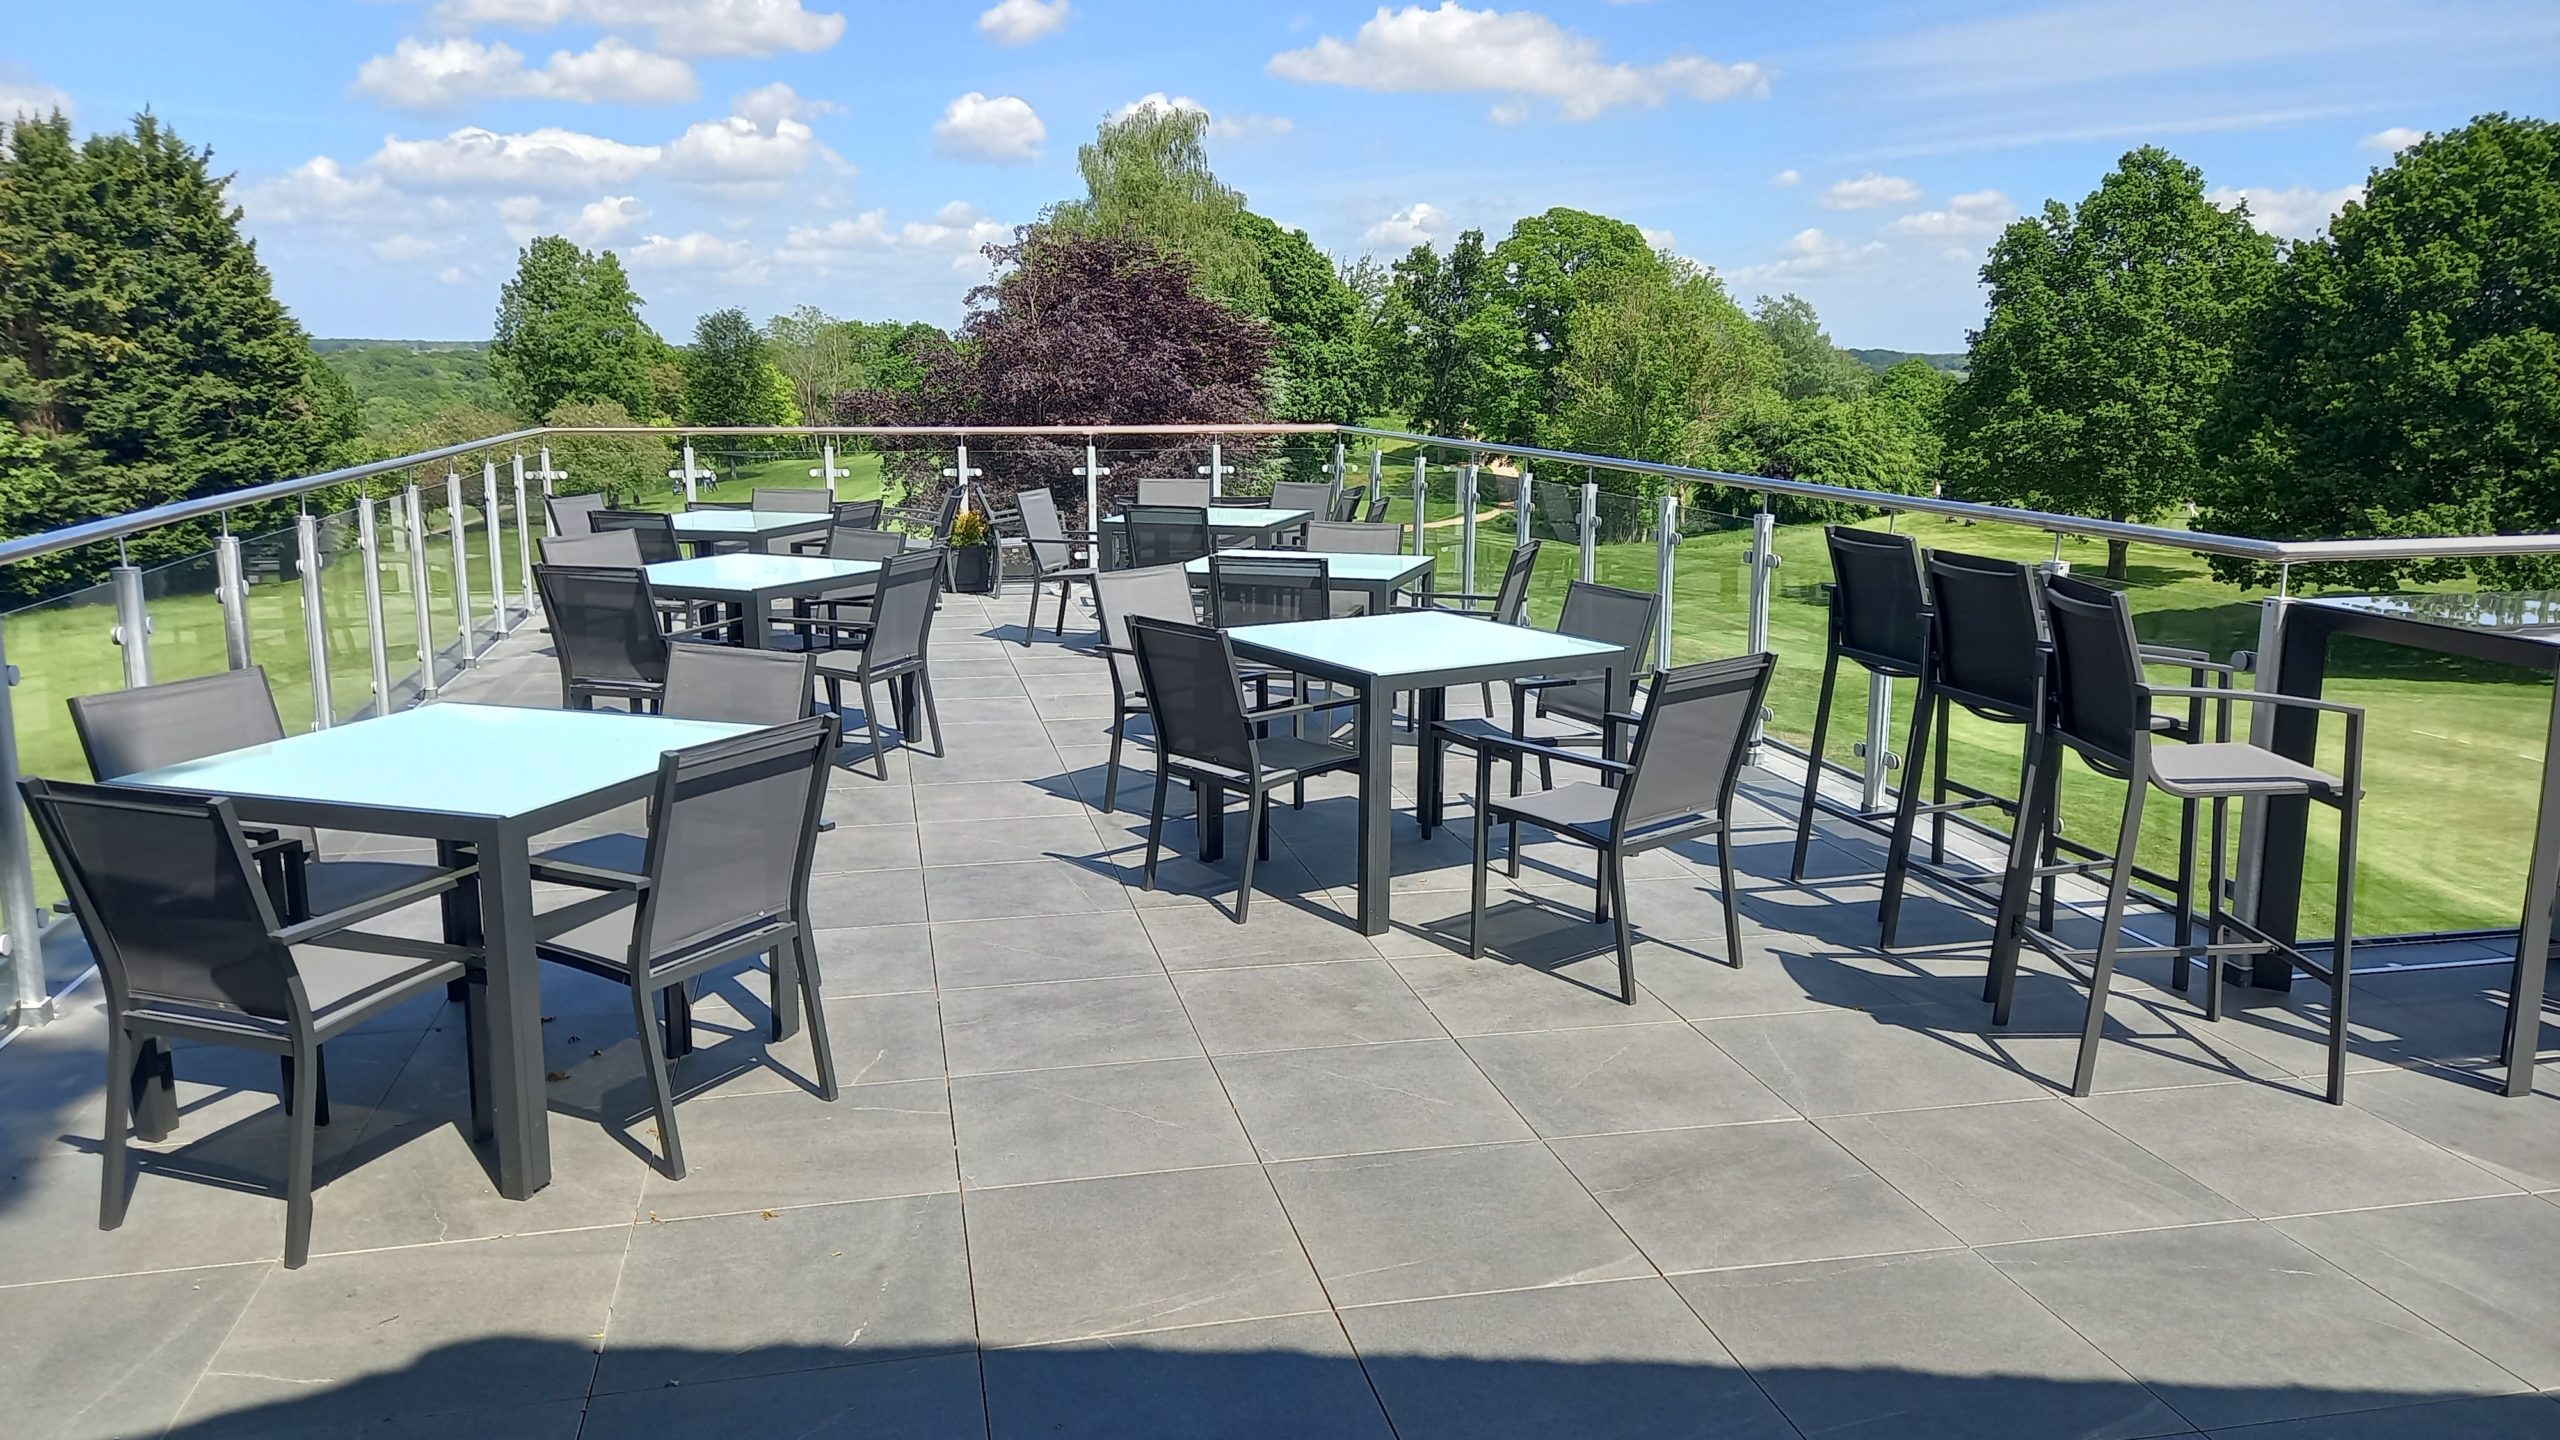
Glorious views over
the Wealden countryside
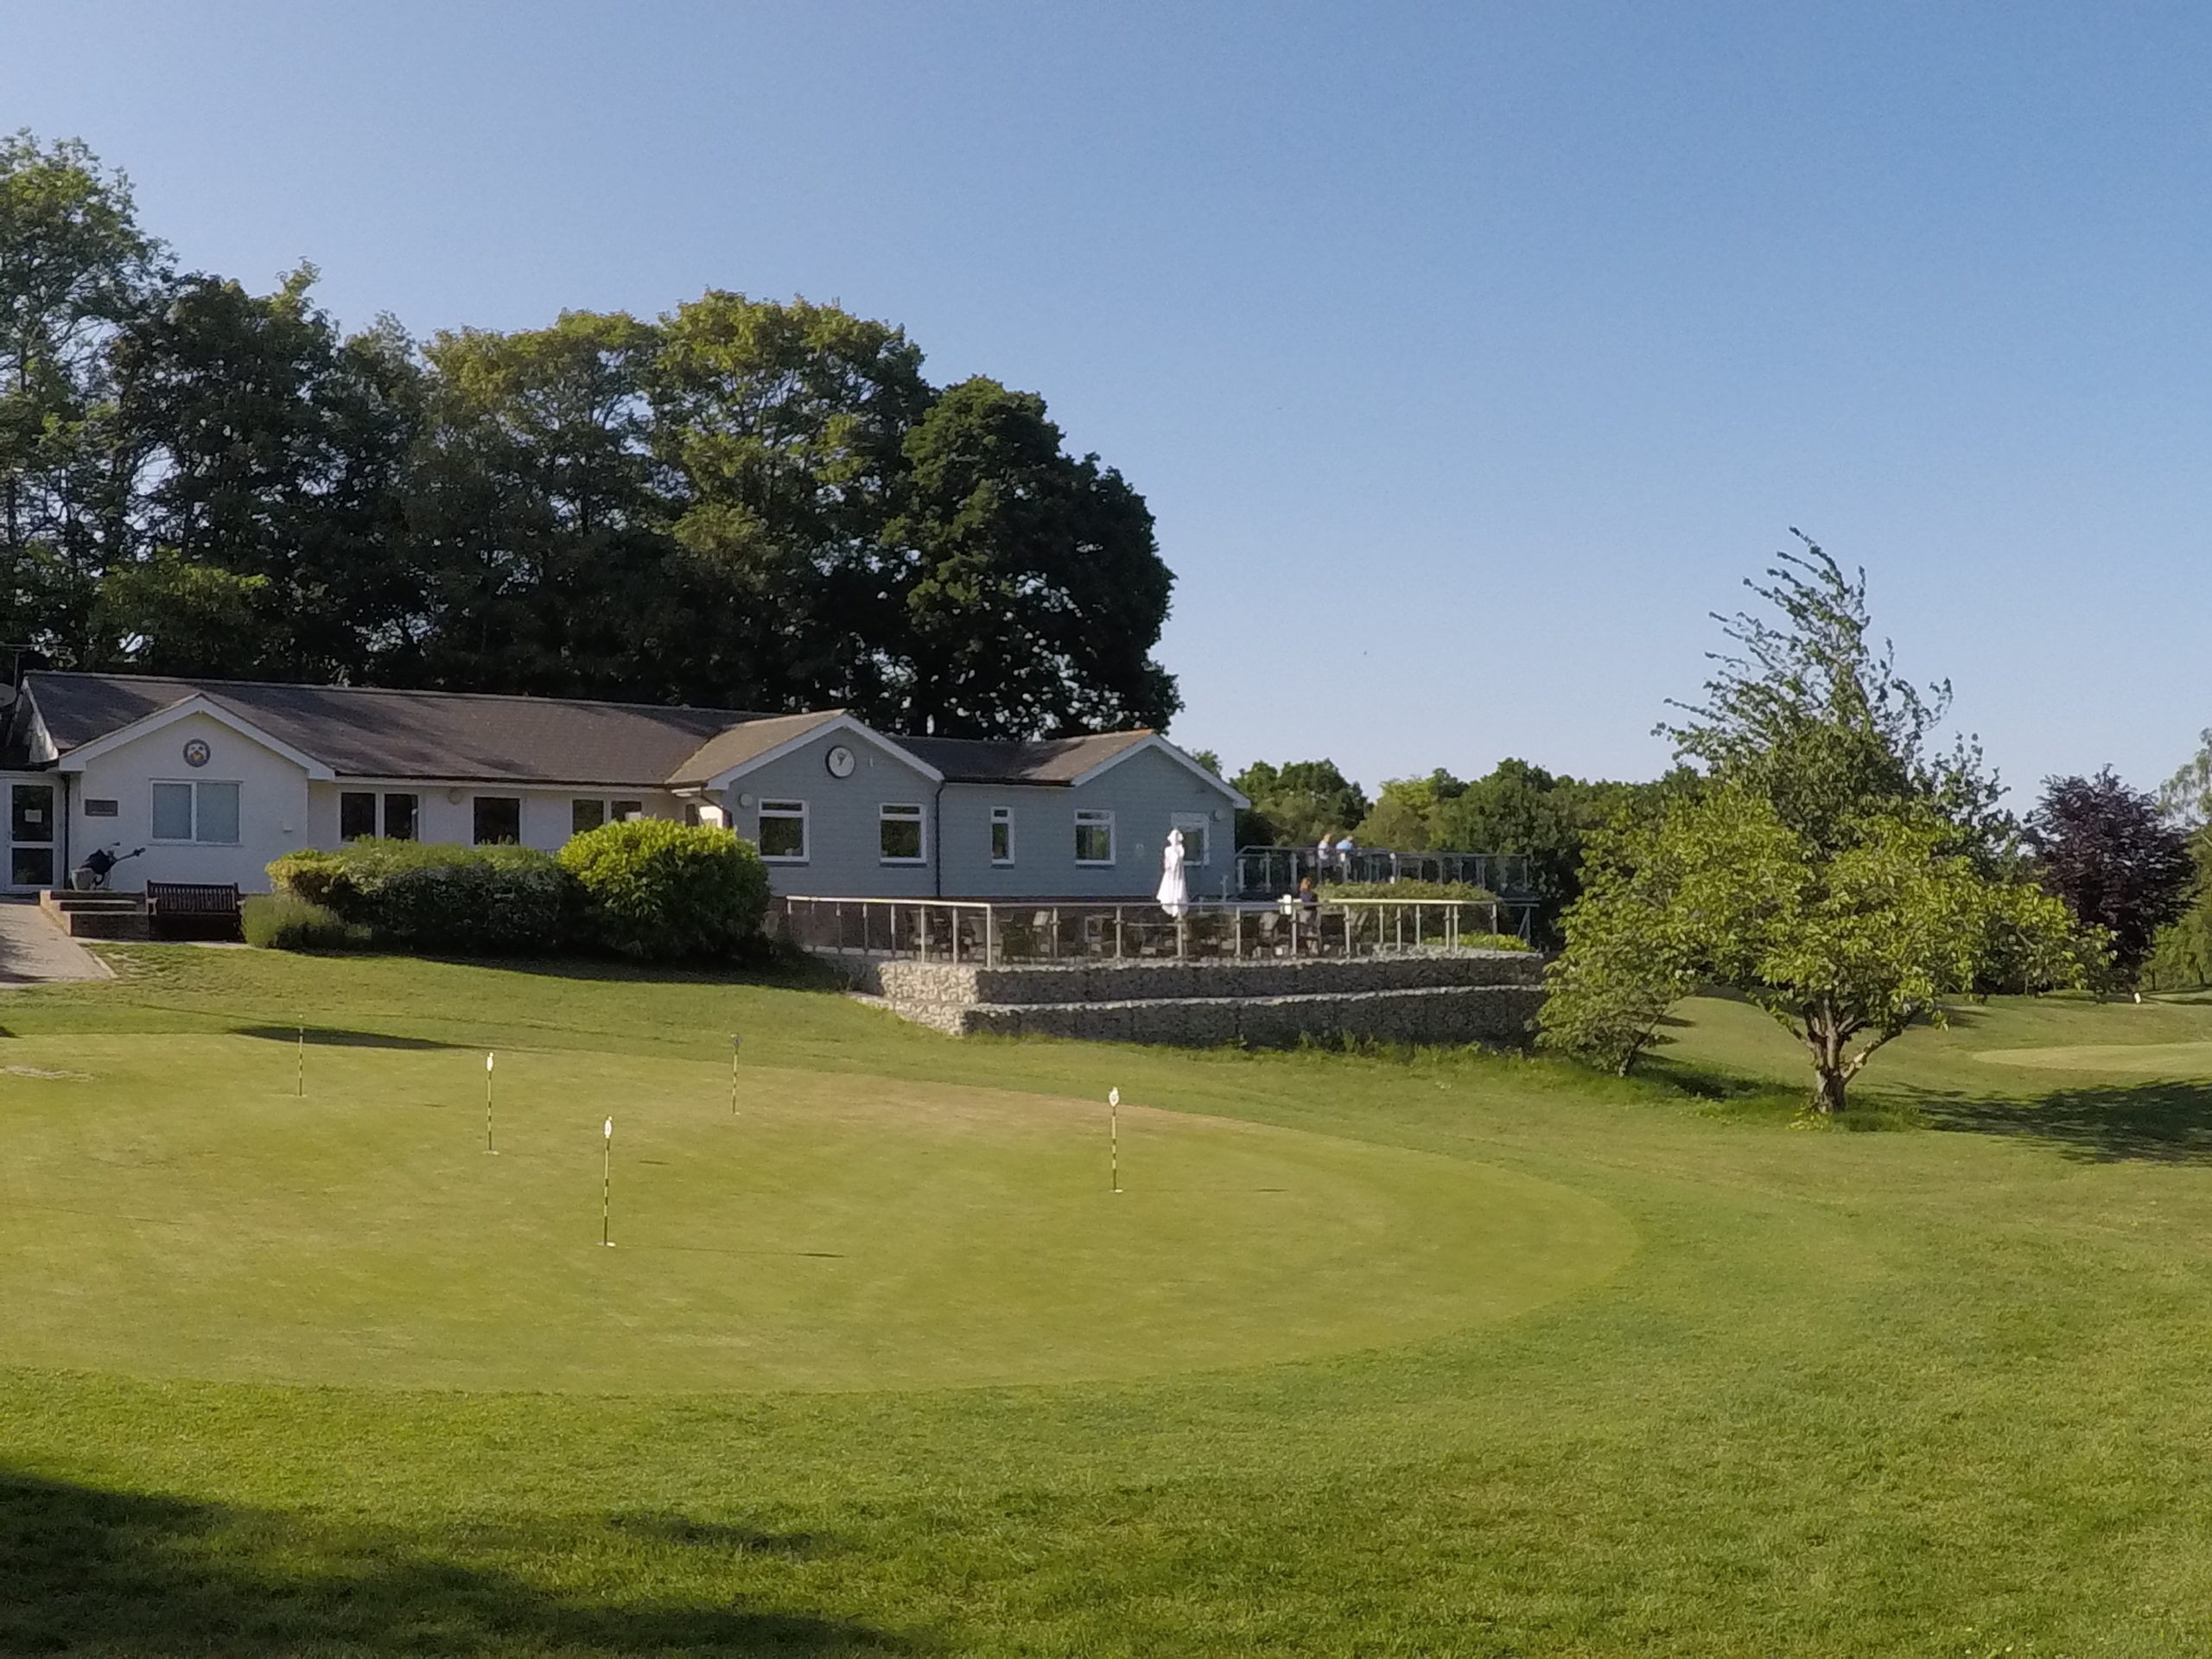
Experienced players and those new to the game enjoy the club’s 18-hole parkland course and refreshments in its well-appointed clubhouse. Playing groups are active throughout the week and newcomers are encouraged to consider joining these.
BAR & SPIKE BAR
- Our fully stocked bar offers a wide variety of drinks, and also a full selection of hot and cold drinks.

CATERING
- At Tenterden Golf we offer a wide variety of catering options from buffets to three-course meals.